

IMPORTANT:
If you run into any issues at any point in the guide, please be sure to check the FAQ.
If your issue is not addressed there, join the Discord for support.
Manual Downloads
Root Mods
The following mods, unlike most others, need to be installed directly into the game's Root folder, not through Mod Organizer 2.
Use the Manual Download and follow the instructions provided for each mod.
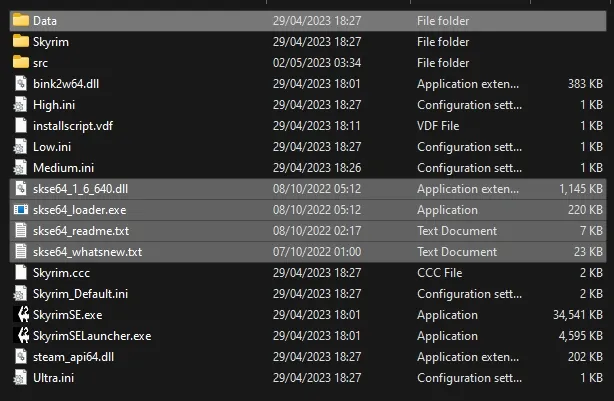
Skyrim Script Extender (SKSE64)
Extends the scripting capabilities of the game.Follow the instructions based on your game version.
Steam
GOG
If you do not know what the Root folder is, read the Key Terminology.
Making MO2 Detect SKSE
-
Once SKSE is installed as instructed above, restart MO2 and you should see a new option in the top right drop-down:

Mod Organizer Downloads
Managed
From now on, select Mod Manager Download to download mods - this will make the file appear in MO2's Downloads tab, ready to be installed according to the instructions earlier in the guide.
Creating a Separator in MO2
- Right-click the empty space in the left pane of MO2 and select Create separator.
- Name the separator Utilities.
Address Library for SKSE Plugins
Resource required by most SKSE plugins.Installation instructions
- Main Files - All in one (1.6.X) 11
More Informative Console
Edits the console's UI to show a great deal of additional information.Installation instructions
- Main Files - More Informative Console 1.2.2
Crash Logger SSE AE VR - PDB support
Generates crash logs, which can be found in the SKSE folder in the game's Documents folder.Installation instructions
- Main Files - CrashLogger
Performance Preamble
Limiting framerate is very important for overall stability, as it smooths out framepacing, which is the most important thing for the overall feel of fluidity.More advanced limiters can also reduce latency or CPU power consumption (it's difficult to have both at the same time).
For a limiter to do anything, you want to set it to a framerate you can actually achieve regularly enough. This will prevent the GPU load from maxing out and further reduce latency, while reducing power usage, often considerably.
Setup
- Make sure V-Sync[1] is enabled, you can do this through BethINI Pie. Your driver settings shouldn't override this[2].
- If your monitor supports it, enable Variable Refresh Rate[3].
Do not disable V-Sync when using VRR! The latter expects the former[4].
Annotations
![]()
SSE Display Tweaks
All-in-one solution for smooth FPS-unlocked gameplay.Installation instructions
- Main Files - SSE Display Tweaks
- Once the mod has been installed, double-click it in the left pane of MO2.
- In the INI Files tab, open SKSE/Plugins/SSEDisplayTweaks.ini
- Change only the following options[1]:
- Set LoadScreenFilter to true.
- Set LoadScreenBlock to DynDOLOD.esp (remove the default All).
- Use the calculator below to determine your optimal FPS limit setting. You can find your exact refresh rate here.
- Set FramerateLimit to the recommended value from the calculator above.
- If you set FramerateLimit to a value higher than 60, do the following as well:
- Set DynamicUpdateBudget to true.
- Save your changes.
Media Keys Fix SKSE
Fixes media keys not working by removing the game's exclusive access to the keyboard.Installation instructions
- Main Files - Media Keys Fix
- Once the mod has been installed, double-click it in the left pane of MO2.
- In the INI Files tab, open SKSE/Plugins/MediaKeysFix.ini
- Set DisableWindowsKey to false.
- Save your changes.
DPI Scaling Fix
Fixes the game's window being scaled to the incorrect size when using display scaling other than 100%.Installation instructions
- Main Files - DPI Scaling Fix